How to weave a simple flax basket
Follow basic step by step instructions and guidance to learn what you need and how to create your own woven flax basket.
Flax Basket Weaving Instructions
Step by Step Guide to make your own simple basket from New Zealand Flax
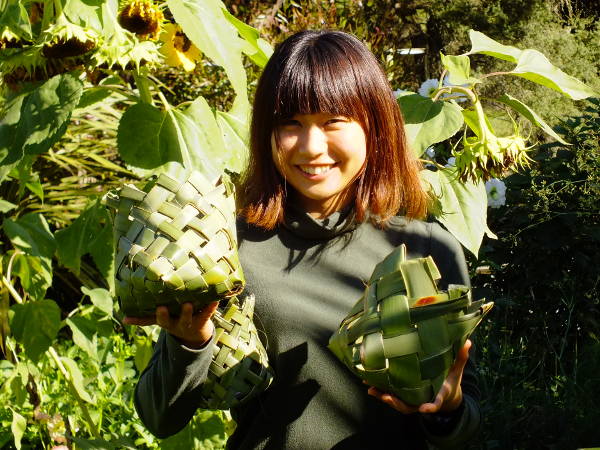
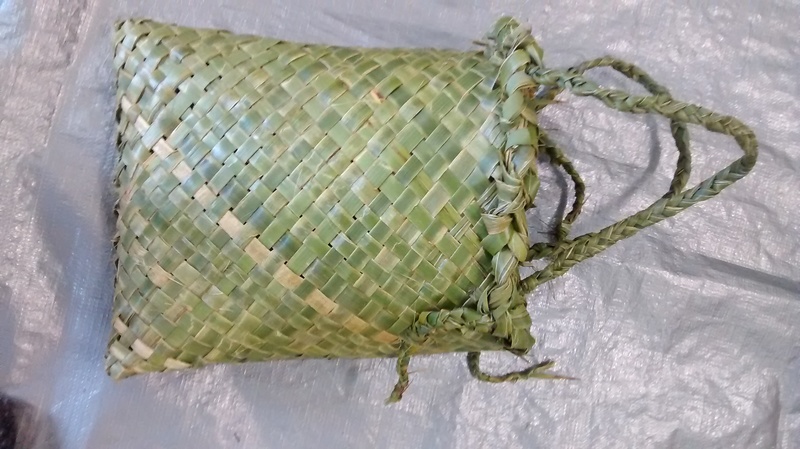
These traditional Maori square baskets are an excellent introduction to basic flax weaving and basket making. The steps are easy to follow and it is easy to produce a usable basket.
With a little practice you will remember how to do it from start to finish without the need for assistance.
The size of the finished basket is determined by the length and number of flax strips, their width and the amount of spacing or gaps in the weave. It is possible to extend the sides by introducing additional strips as you weave if you require a challenge.
Historically it was common practice for weaving students to give their first creation as a gift. Perhaps this was to encourage them to create another for their own uses and further improve their proficiency.
Have a go and don't be put off by your first attempts. You will certainly improve your speed and quality as you go.
Related
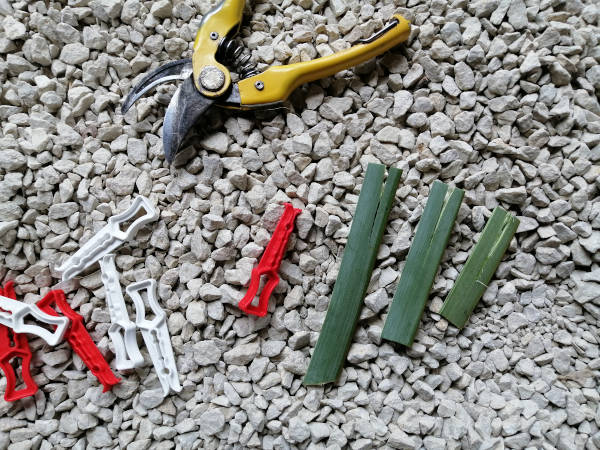
Tools and equipment required for creating a simple woven flax basket
Working with the long, slippery strips can be difficult in the beginning. Clothes pegs are helpful for holding corners and edges while you work, helping prevent things coming apart while you work. If you don't have pegs on hand (the early Maori certainly didn't) you can create your own from the thick base of the flax leaves. Cut short pieces and add a slit.
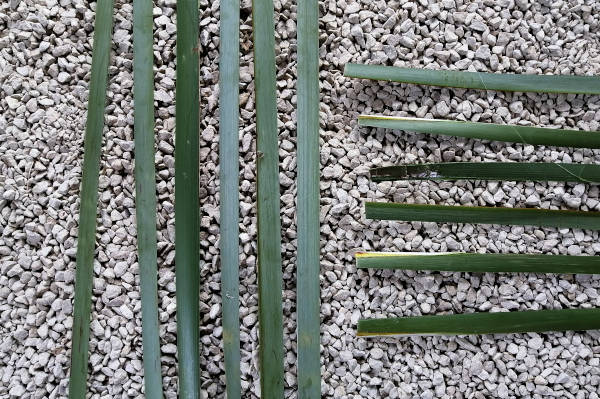
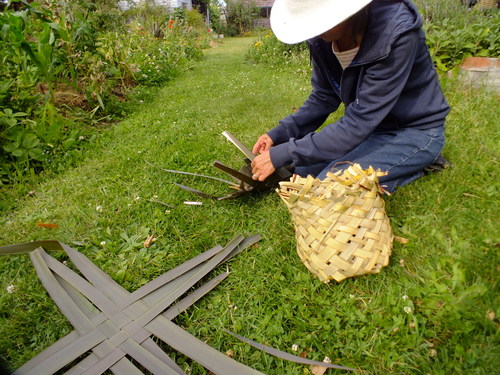
Preparing the flax strips for your square basket
The larger the number of strips the bigger the floor area of the basket will be and the shorter the walls can be. Using more strips increases the difficulty and time involved in fabrication.
Making a very small basket (2 sets of 4) is fiddly so start with 2 lots of 6 as demonstrated here.
Split the flax leaves into strips of a uniform width between 15 and 25mm. The wider the strips the more they will shrink as they dry resulting in a basket with more gaps. Smaller strips can be woven tighter and produce a smaller but tidier and stronger basket.
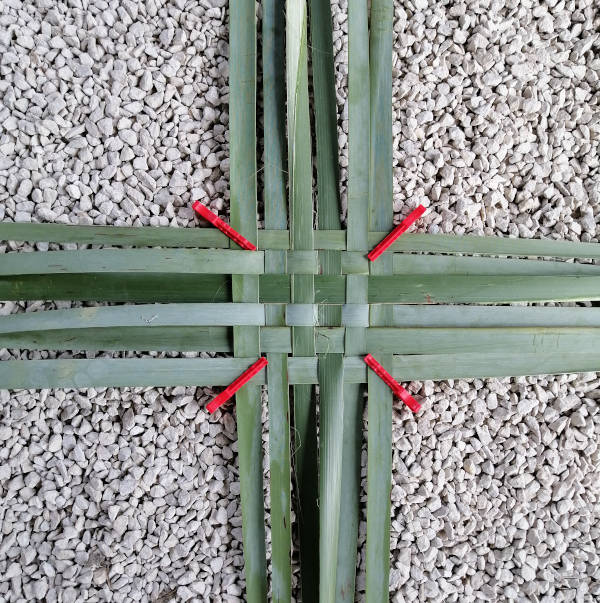
Square bottom for the basket
Try to centre the square with equal lengths of unwoven flax extending beyond the 4 sides. This will allow the walls to reach a maximum height.
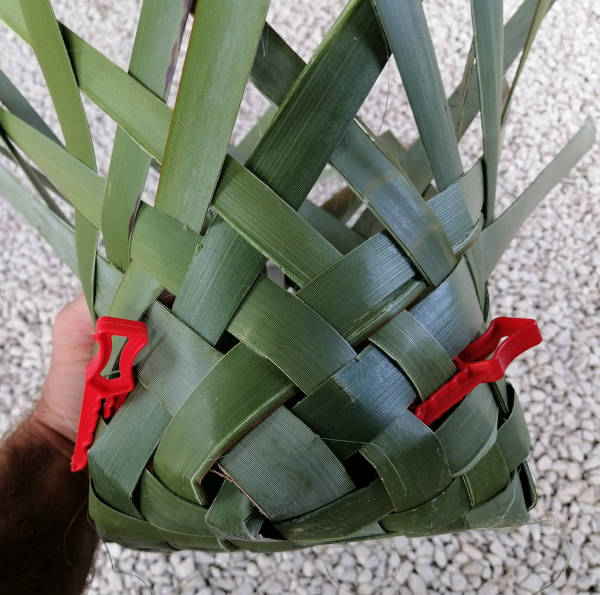
Use pegs or clips to hold the corners and prevent things sliding apart or loosening up too much while you work. Some slippage is inevitable and can be rectified as the basket takes shape.
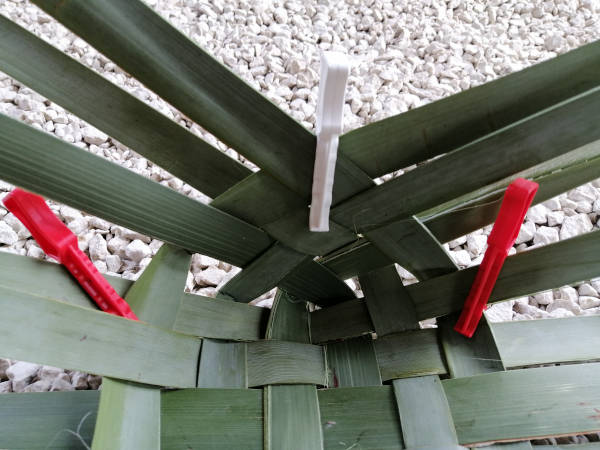

Creating the corners of the flax basket
The 3 on the left are woven through the 3 on the right, continuing the weaving pattern of over - under to create a vertical triangle. Clip the tip of the triangle to hold it.
Repeat this process with the remaining 3 corners so you have 4 of these triangles rising from the flat floor of the basket
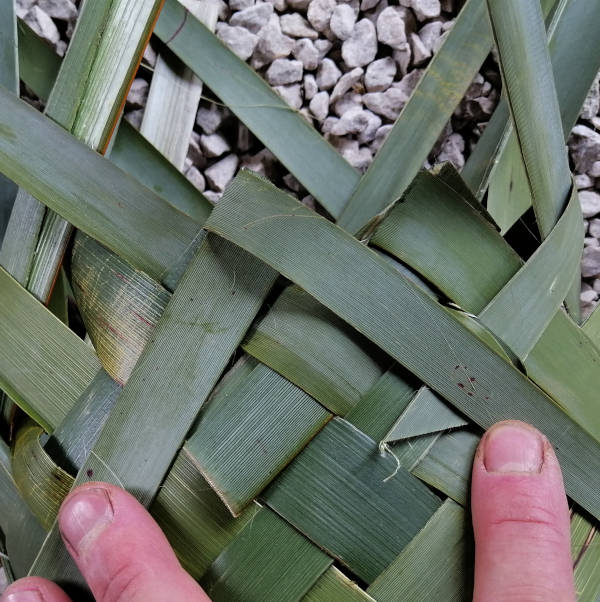
Joining the corners and raising the sides of the woven basket
Working on the lower areas of the sides continue the weaving pattern of over and under / in front and behind to fill in and raise the sides.
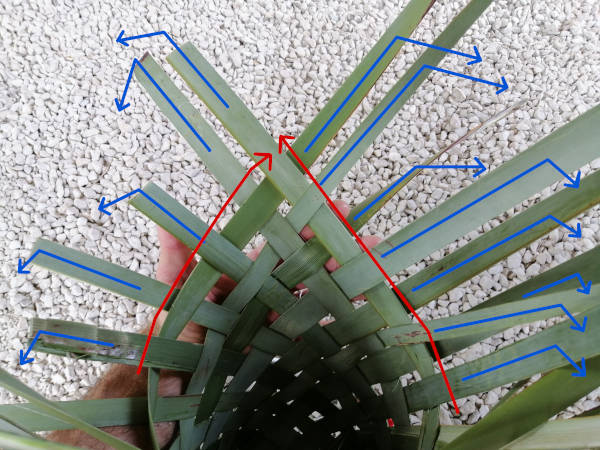
Reducing gaps and creating the tighter weave
Start from the base and work out / up the sides closing gaps.
Work in the direction of the red arrows and pull the strips on the right against their opposites on the left in the directions indicated in blue.
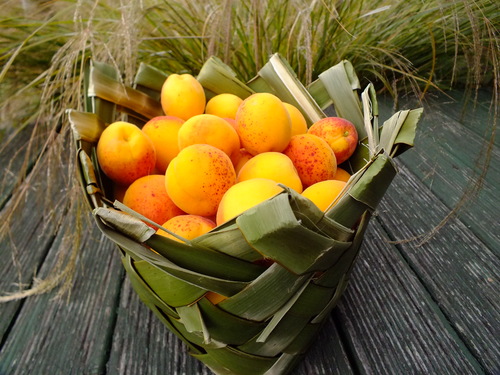
Depending on what you want to use the basket for you may want to have some amount of space between the strips. The tighter the weaving the more rigid the basket will be and less likely to deform over time.
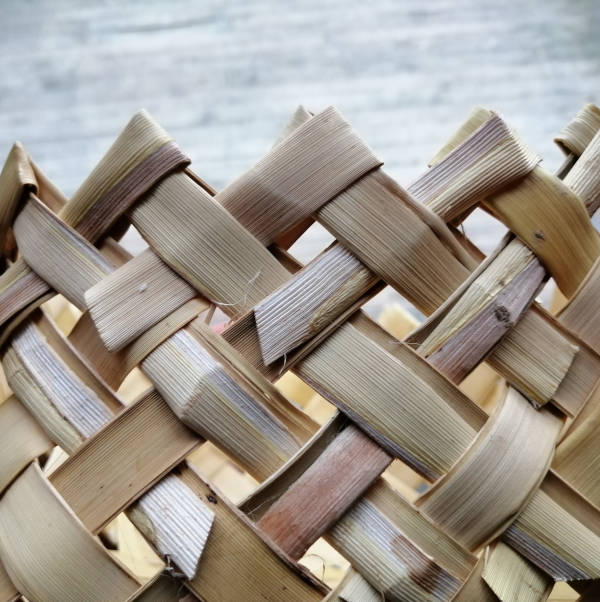
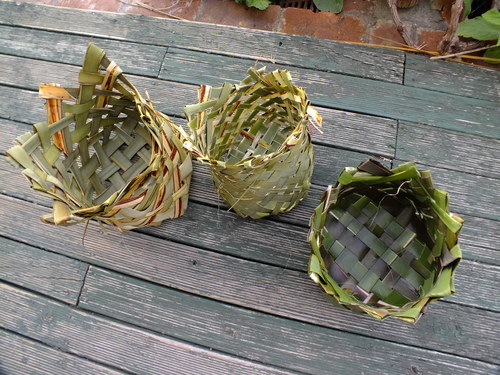
Finishing off and locking the top of the sides
Leave yourself at least 10 - 15cm of flax left to turn down and weave back down through the sides. The tips can be folded either inward or outward based on your own preferences but outward is easier whilst learning.
Cutting a point on the end of the strip makes it easier to feed through the tight weave below.
Work around the top of the side finishing the weave up to the height where you can fold the strips over and create a uniform height to the sides.
The final edge will be a series of 12 points.
Related
Create a simple flax basket
Identify, harvest and prepare flax leaves before weaving your own small basket to take away.
Flax Kete Weaving Notes

Basket weaving materials from plants
Practical uses for flax
The plant produces tall flower stalks that feed native bell birds. These stalks can be over 2 meters long and can be used for poles in the garden. While not as long lasting as bamboo, the flax poles decay after a season or 2, they are extremely light and easy to work with.
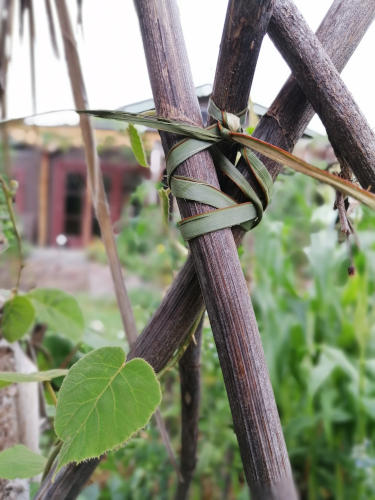
The flax leaves contain extremely tough fibres making them ideal fro tying and weaving. From simple rope to intricate baskets, woven mats and dental floss, the flax leaves and fibres are very versatile and durable.
I use flax constantly for tying and training plants. Being biodegradable is an added bonus as it breaks down into the soil and trees tied with flax will not strangle.